
Tip & Trick
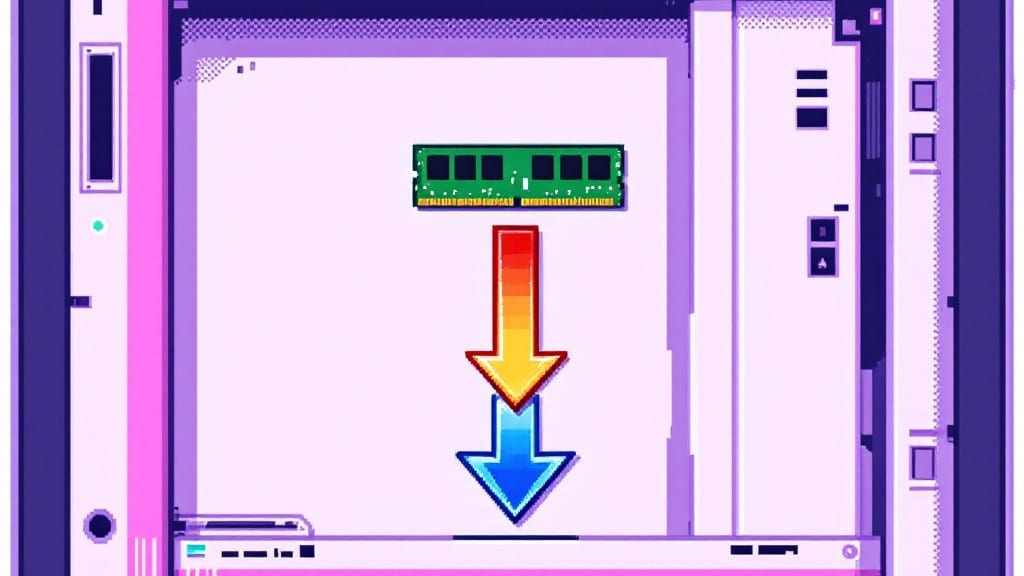
Installing RAM in a desktop PC is easier than you think—especially when you know the right steps. ✨ I’ve upgraded dozens of systems, and the process takes less than 10 minutes once you understand the slot alignment and release clips.
The key is patience and proper handling to avoid static damage, something I learned the hard way when a misplaced finger fried a $200 module back in my uncle’s basement workshop.
First, you’ll need DDR4 or DDR5 RAM (check your motherboard manual), a screwdriver for securing the clips, and an anti-static wrist strap if you’re nervous about ESD. Most modern systems use DIMM slots—look for the golden connectors and matching notches that guide the RAM into place.
If your system has two slots, use them in pairs for optimal performance, but never mix speeds or types unless you’re sure they’re compatible.
Once the RAM is seated, power on your PC and check the BIOS to confirm the upgrade took. If the system doesn’t boot, reseat the RAM or test it in another slot—90% of issues come from misalignment or loose clips.
I’ve seen even pros overlook this, so don’t rush. For DDR5, you might need a BIOS update first, but most motherboards handle DDR4 upgrades automatically.
After the install, your system should feel noticeably snappier—especially in multitasking or gaming. If you’re still unsure, I’ll walk you through the exact steps, including how to identify your RAM type and troubleshoot common hiccups. Trust me, you’ll wonder why you didn’t do this sooner.
📚 In This Guide
- What you need
- Instructions
- Tips and common mistakes
- Wrapping up and next steps
What you need
- ● RAM Module(s): Compatible with your motherboard (check specs for type—usually DDR4 or DDR5—and capacity, e.g., 8GB, 16GB, or 32GB). Pro tip: Match the speed (MHz) and voltage (V) if mixing modules!
- ● Screwdriver (Phillips #2): For removing the computer case side panel.
- ○ Anti-static wrist strap (optional but recommended): Prevents static electricity from damaging components. If you don’t have one, touch the metal part of your case occasionally to ground yourself.
- ○ Compressed air (optional): Cleans dust from slots and modules for a smoother install.
- ● Power off your PC and unplug the power cable from the wall.
- ● Ground yourself by touching the case to avoid static discharge.
- ● Review your motherboard manual (if available) to locate RAM slots and identify if they’re in pairs (e.g., dual-channel configurations).
- ● Flashlight: Helps spot dust or tight slots in dim lighting.
- ● Tweezers: Useful for gently adjusting stubborn RAM clips.
- ● Thermal paste (if overclocking): Not needed for basic RAM installation, but handy for future CPU upgrades.
Step-by-Step instructions for installing RAM in a desktop PC
Here's the foolproof method I use—no guesswork, just clean installation every time.
🔧 Step 1: Power Down and Ground Yourself
Shut down your desktop completely and unplug the power supply. I always press and hold the power button for 10 seconds to fully discharge capacitors—this prevents static electricity from damaging your new RAM modules.
Before touching any internal components, ground yourself by touching the metal chassis. I keep a wrist strap handy, but even just touching the case repeatedly works. Static discharge can fry sensitive components, and you don't want that to happen right after you've spent money on upgrades.
🔧 Step 2: Open the Case and Locate RAM Slots
Remove the side panel of your case by unscrewing the 2-4 thumbscrews or sliding the panel off. Set it aside safely—you don't want to lose it or scratch the case. Inside, find the RAM slots on the motherboard. They look like long, narrow sockets with clips on either side.
If you're unsure which slot to use, check your motherboard manual. Most modern boards use slots A2 and B2 for dual-channel configuration, but the exact pairing depends on your motherboard model. The slots are usually labeled with numbers like DIMM1, DIMM2, or similar.
🔧 Step 3: Align and Insert the RAM Modules
Take your new RAM modules and align the notch with the corresponding slot on the motherboard. The notch ensures you insert the RAM the right way—if it doesn't line up, you're holding it upside down. Gently press down until you feel the clips on either side snap into place.
Don't force it. If the RAM doesn't go in smoothly, you're likely misaligned. The clips should pop open automatically when the RAM is fully seated. You'll hear a satisfying click when it locks into place. If you're installing two modules, use the slots farthest from the CPU for best performance.
⚡ Step 4: Secure the Side Panel and Power Up
Reattach the side panel, making sure it's securely fastened. Double-check that no cables are blocking airflow or getting pinched. Once the case is closed, plug the power supply back in and turn on your desktop.
Enter your BIOS or UEFI settings by pressing the appropriate key during boot—usually Delete, F2, or F12, depending on your motherboard. Check that the system recognizes the new RAM capacity. If it doesn't, reseat the modules or try a different slot. Most modern systems will automatically detect the new RAM, but it's always good to verify.
💡 Step 5: Verify Installation and Performance
Boot into your operating system and open Task Manager (press Ctrl + Shift + Esc). Under the Performance tab, check the Memory section to confirm the new RAM capacity is listed. You should see the total amount you installed, minus any existing RAM if you're upgrading.
For a final check, run a stress test using tools like MemTest86 or Windows Memory Diagnostic. These tools will scan your RAM for errors and ensure everything is working correctly. If you see any issues, reseat the RAM or try a different slot. Once the test passes, you're all set—your system is now running with the upgraded memory.
Tips & tricks for installing RAM without a hiccup
Between us, I've seen more RAM installations go sideways than you'd believe—especially when people rush the grounding step or force those stubborn modules. Here's what nobody tells you until it's too late.
Grounding is Non-Negotiable: That 10-second power button hold in Step 1 isn't just about discharging capacitors—it's your first line of defense against static. I've seen $200 RAM modules fried because someone skipped this. Keep that wrist strap handy, but even touching the case repeatedly works. The metal chassis is your friend here, and static discharge can happen faster than you think.
RAM Slots Have Personality: Those clips in Step 2 aren't just decorative—they're designed to pop open automatically when you apply even pressure. If you're forcing it, you're probably upside down. Look for that satisfying click when the module seats properly. And remember, for dual-channel setups, you're usually aiming for slots A2 and B2, but always double-check your motherboard manual. That little notch on the RAM is your alignment guide.
Visual Cues Matter More Than Force: In Step 3, watch for the clips popping open—they're telling you the RAM is seated correctly. If you hear nothing but silence, you're either misaligned or not pressing hard enough. The clips should snap into place with minimal effort. And here's a pro move: if you're installing two modules, use the slots farthest from the CPU for optimal performance. That's how you get the full speed benefits of dual-channel.
BIOS is Your Best Friend: When you hit Step 4 and boot up, don't just assume it worked. Enter BIOS (usually Delete or F2) and verify the new RAM capacity. If it's not showing up, try reseating the modules or checking your motherboard manual for slot compatibility. Most modern systems auto-detect, but it's always worth confirming before you close everything back up.
Pro Tips for Install Ram In A Desktop Pc
- Between us, I've seen more RAM installations go sideways than you'd believe—especially when people rush the grounding step or force those stubborn modules.
- Grounding is Non-Negotiable: That 10-second power button hold in Step 1 isn't just about discharging capacitors—it's your first line of defense against static.
- RAM Slots Have Personality: Those clips in Step 2 aren't just decorative—they're designed to pop open automatically when you apply even pressure.
Frequently asked questions
Got questions about upgrading your RAM? Here are answers to the most common concerns—so you can tackle this upgrade with confidence!
Can I install RAM myself, or do I need a technician?
Installing RAM is one of the easiest hardware upgrades—no technical expertise needed. Just follow the steps carefully, and you’ll be done in minutes. If you’re nervous, watch a quick YouTube tutorial first. Most users complete it without issues!
What happens if I mix different RAM types (e.g., DDR4 vs. DDR3)?
Mixing incompatible RAM types (like DDR4 with DDR3) won’t work—they use different slots. However, you can mix identical or compatible RAM (same speed, voltage, and type) for extra capacity. Always check your motherboard’s manual for supported configurations.
Do I need to turn off my PC to install RAM?
Yes! Always power off your PC, unplug the cable, and press the power button to discharge residual energy. Working on a live system risks damaging components. Pro tip: Remove the case side panel first for easier access.
Why isn’t my PC recognizing the new RAM after installation?
If your system doesn’t detect the RAM, try these fixes:
- Reseat the RAM sticks—push them firmly into the slots.
- Check if the RAM is fully inserted (listen for a satisfying click).
- Ensure the RAM matches your motherboard’s supported speeds (check BIOS).
- Update your BIOS if compatibility issues persist.
Is it better to install RAM in pairs (dual-channel) or single sticks?
For optimal performance, install RAM in matched pairs (e.g., two 8GB sticks) if your motherboard supports dual-channel mode. Single sticks work but may run in single-channel mode, reducing speed. Check your manual for slot color-coding (usually slots 1 & 3 or 2 & 4).
Wrapping up and next steps
You’ve made it! Installing RAM in your desktop PC is a simple, rewarding upgrade that can boost performance without breaking the bank. 🎉 With patience and these clear steps, you’ve unlocked faster multitasking, smoother gaming, or even that creative project you’ve been dreaming of.
Now that your RAM is securely in place, take the next logical step: test it out! Run a quick system check, fire up your favorite apps, or dive into a game to feel the difference. Need help? Explore our guide on optimizing your PC’s performance or troubleshooting common issues.